1. Outline
The handwriting view is a control that allows app users to manually input signatures and illustrations. In the following, we will use the term "2. Development GuidanceYou can download sample programs for frequently used functions in Handwriting View at3. Parameterssection provides a reference to the parameters to be set for the handwriting view.

2. Development Guidance
This article introduces parameter settings that are commonly used to familiarize you with the Handwriting View. The sample projects used in the explanation can be downloaded from the following links.

2-1. Handwriting as a raster image
Use raster format if you want to save the output as dots, e.g., for electronic signatures.
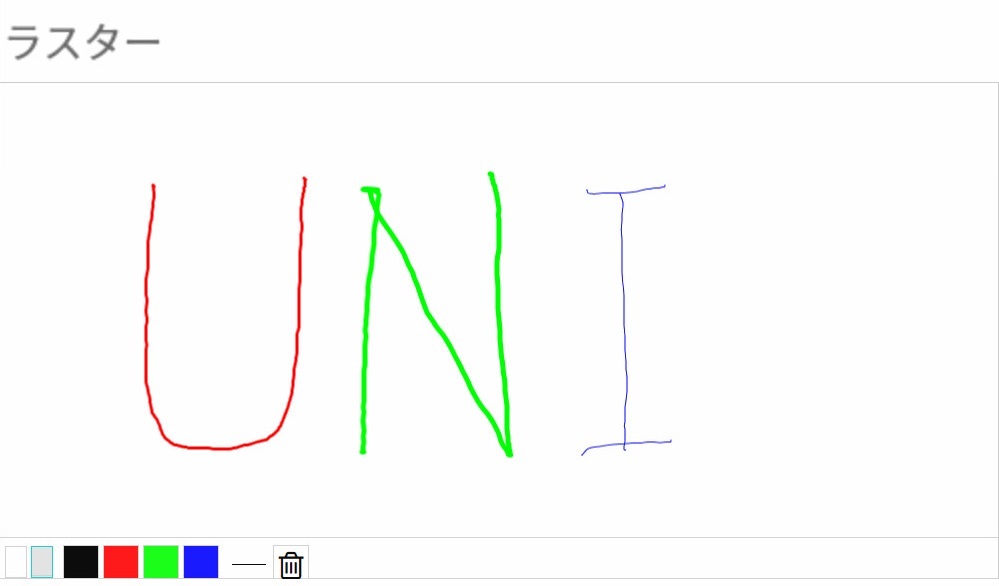
2-1-1. Setting up for raster
Select "Handwriting View" from the control bar and drag it on the screen to position the handwriting view. With the Handwriting view selected, select Raster from Data > Contents in the Properties area.
2-1-2. Set the palette
With the handwriting view selected, go to "Data" > "Contents" in the Properties area.
Four six-digit, comma-separated hexadecimal numbers are defined in the "palette" by default.
Three line thicknesses are also defined by default: 1, 3, and 5.
(i)Black:00000000 Red:FF000000 Green:00FF00 Blue:0000FF corresponds to each.
(2)The thicknesses are also in the order of 1 3 5 from the top to the bottom.
The screen displays the following figure.
2-1-3. Other useful functions
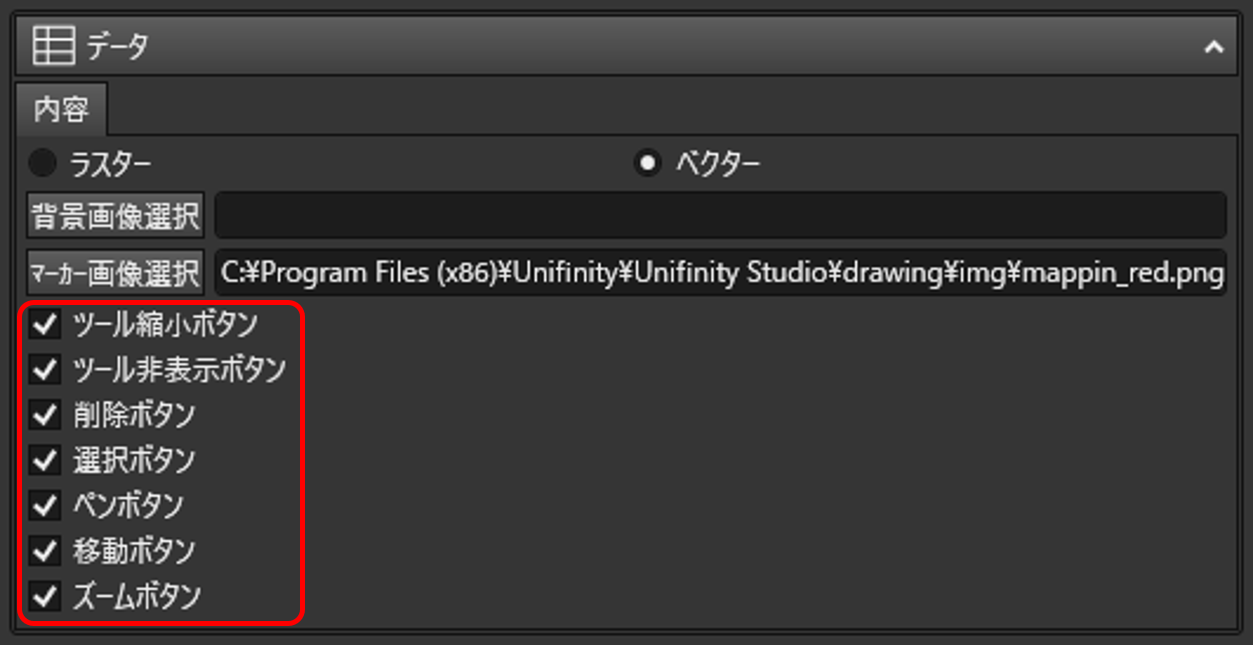
You can set ON/OFF for the tool reduction button, the tool hide button, and the delete button.
The Tool Shrink button shows and hides the color palette and the Delete button.
The tool hide button hides the toolbar itself.
The Delete button is a function that leaves the handwriting area in a blank state.

2-2. Handwriting as a vector image
Use vector format if you want to save the output results as lines, such as illustrations or marker pins.
One advantage of vector images is that they do not become jagged and do not deteriorate easily when enlarged.
2-2-1. Setting up for vectors
Select "Handwriting View" from the control bar and drag it on the screen to position the handwriting view. With the Handwriting view selected, select Vector from Data > Contents in the Properties area
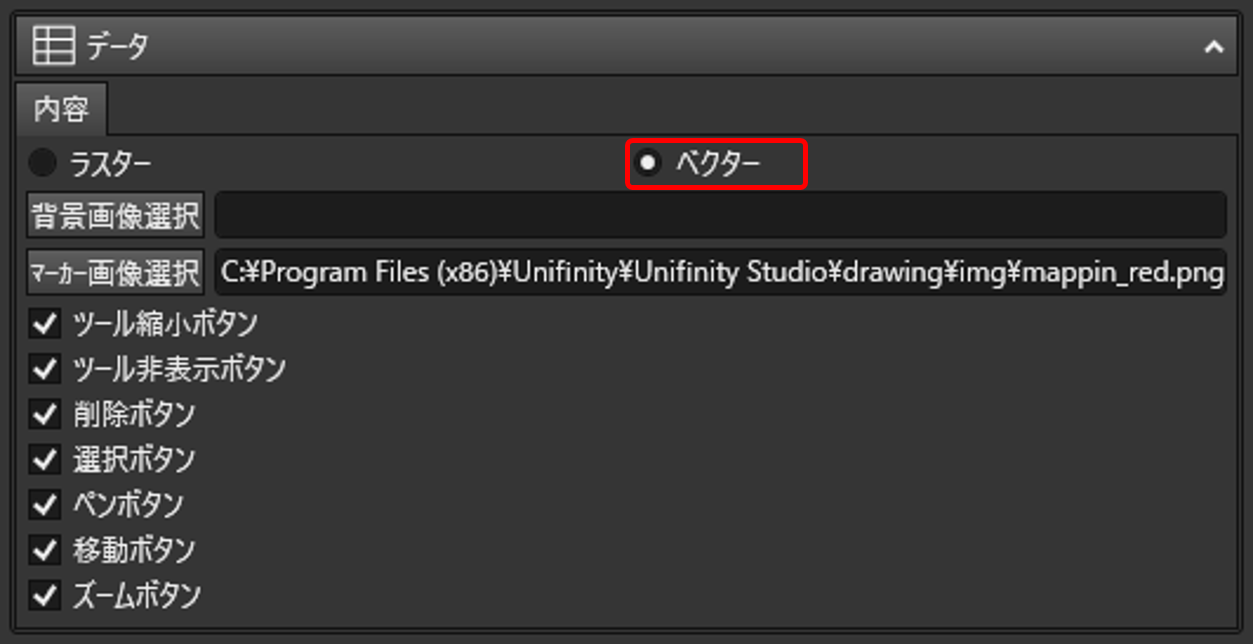
2-2-2. Set images for markers
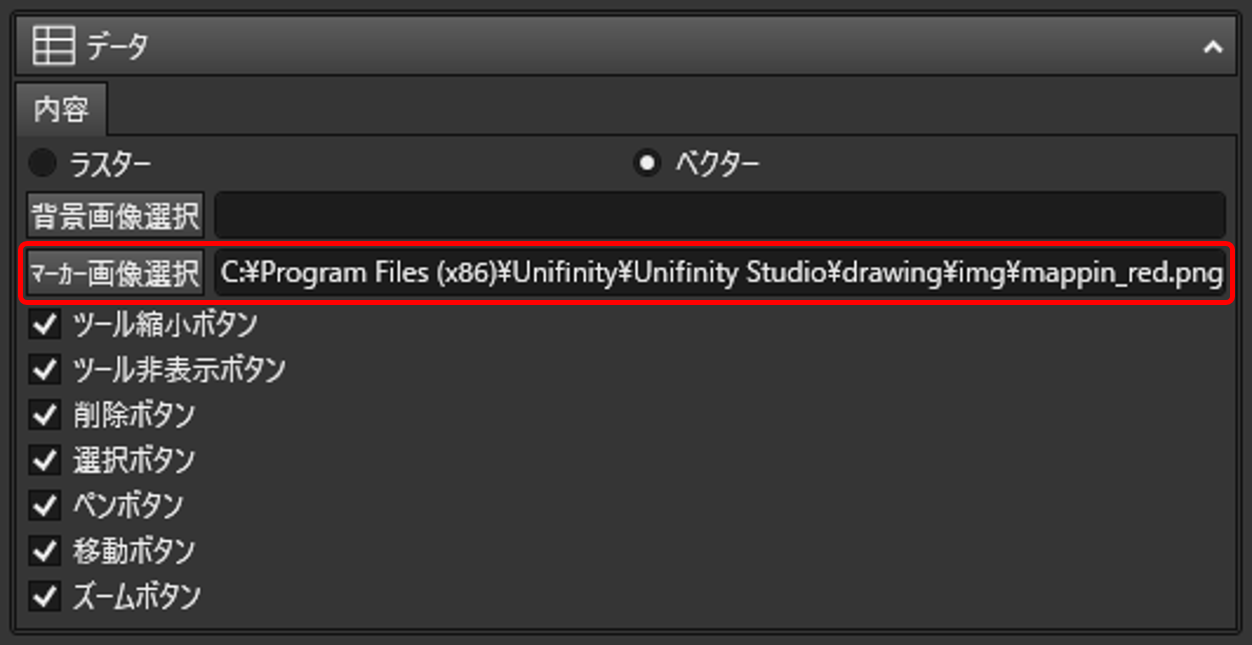
With the handwriting view selected, press the "Select Marker Image" button from "Data" > "Contents" in the Properties area. When the input dialog box appears, select the desired image.
The "mappin_red.png" set up this time is as follows.

Other useful functions
With the handwriting view selected, go to "Data" > "Contents" in the Properties area.
You can set the options shown in the figure below. This is the default setting.

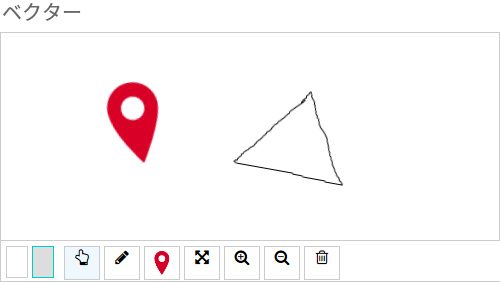
The above figure is explained from left to right
Tool Reduction Button: When pressed, the item to the right is hidden from the reduction button. Press again to display.
Tool hide button: When pressed, hides the entire toolbar. Click on the handwriting view to display.
Pen button: This button is used to write lines.
Marker: Appears only when a marker image is selected and a marker can be entered.
Move button: If the background image is larger than the Handwriting View, this button allows you to move the background image up, down, left, or right.
Enlarge button: Press to enlarge the entire image. 10% increments.
Reduce button: Press to reduce the size of the entire image. 10% increments.
Trash: Press to delete the selected vector image section.
3. Parameters
By changing the parameters, you can easily set the position and size of the handwritten view, as well as the images to be displayed as background and markers.
object
Basic Information
| name | Enter a control name. |
|---|---|
| Size | Specify the width and height of the control. |
| position | Specify the position of the control from the left and from the top. |
| margin | Specify the margins of the control from left, right, top and bottom. |
| type | Displays the type of control. |
| style | No style can be selected for this control. |
possibility
| available | Check this box if you want to make the control available. |
|---|---|
| display | Check this box if you want to display the control. |
data
Contents
| raster | Select to display a raster (a set of points). |
|---|---|
| vector | Select to display vectors (sets of shapes). |
Contents (Raster)
| Background Image Selection | Write the file name with path in the background image or click the Select button to select it. Display and set the image file selection dialogs. |
|---|---|
| pallet | Specify each palette as a comma-separated set of colors. (RRGGBB 00-FF) (Example: 00000000,FF0000,00FF00,...)) A palette button appears on the toolbar. |
| pen-size | Specify pen thickness in dot size separated by commas. (e.g. 1,3,5,...)) The Pen Size button appears on the toolbar. |
| Tool reduction button | If the toolbar area is in the way when used for signatures, etc., this button to make all but the tool reduction buttons invisible. |
| Tool hide button | Hide the toolbar and check the overall display status. Click in the frame again to redisplay the toolbar. |
| delete button | Delete all pen drawings. |
Contents (Vector)
| Background Image Selection | Write the file name with path in the background image or click the Select button to select it. Display and set the image file selection dialog box. |
|---|---|
| Marker Image Selection | Marker image with file name with path or selection button Press to display and set the image file selection dialog box. |
| Tool reduction button | If the toolbar area is in the way when used for signatures, etc., this button to make all but the tool reduction buttons invisible. |
| Tool hide button | Hide the toolbar and check the overall display status. Click in the frame again to redisplay the toolbar. |
| delete button | Deletes the currently selected handwritten shape or marker. |
| select button | Select hand-drawn shapes and markers for editing. (Movement, scaling) |
| pen button | Displays the Handwritten Shapes button. |
| move button | Click and drag on the background to move it. |
| zoom button | Zoom in/out on the view. (Enlargement: 1 click = 1.1x; reduction: 1 click = 0.9x) |
*You can select multiple objects, move, and scale/delete them by pressing the Select button, clicking on the background image, and dragging, including shapes and markers.


