This section describes the operation of the controls.
Placement of Controls
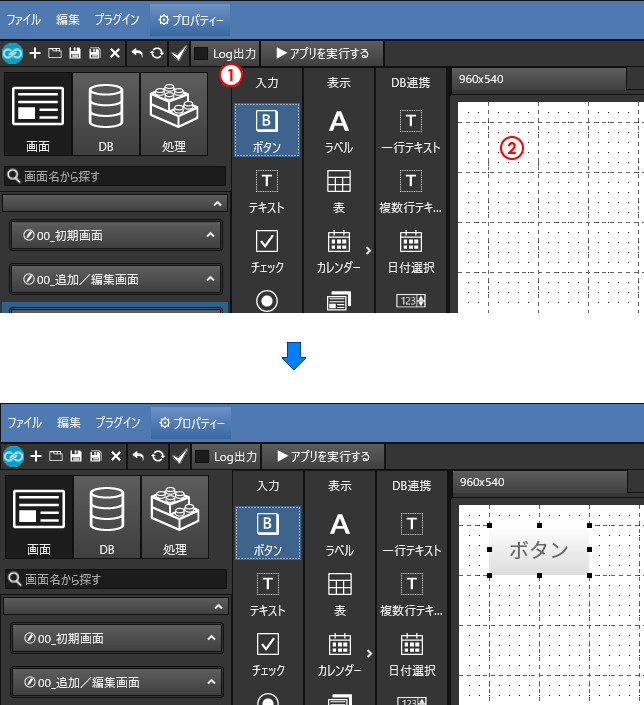
Select a type in the control bar (①) and click on the work area (②) to position the control to match the guide (even if the guide is hidden by other controls).

If necessary, change the name of the placed control in the [Object] pane => [Basic Info] tab => [Name] in the Properties Area.
The correspondence between the buttons on the control bar and the controls that can be added is as follows
|
Buttons on the control bar |
control name |
|---|---|
|
|
button |
|
|
text box |
|
|
checkbox |
|
|
radio button |
|
|
slider (usu. volume control) |
|
|
combo box |
|
|
Handwritten View |
|
|
Labels. |
|
|
table (e.g. Table 1) |
|
|
Calendar (Month) |
|
|
Calendar (Weekly) |
|
|
Calendar (week:day by day) |
|
|
Calendar (Day) |
|
|
Date Reservation |
|
|
subform |
|
|
web view |
 |
one-line text Place a heading and a text box for one-line input
|
 |
multiline text Place a heading and a text box for multi-line input
|
 |
Date Selection Place a heading and a text box for date selection
|
 |
figure increase or decrease Place a heading and a text box that can also be increased or decreased in value with the [+] and [-] buttons
|
 |
checklist Place checkboxes
|
 |
radio selection Place the headline and five radio controls together
|
 |
Combo Selection Place a heading and a combo box
|
 |
photography Place a heading and a button to take a picture using the device's camera function
|
 |
Image Selection Place a heading and a button to select an image in the device
|
 |
handwritten item Place headings and handwritten views
|
 |
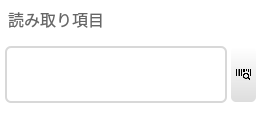
bar code reader Place a heading and a button to read the barcode using the device's camera function
|
 |
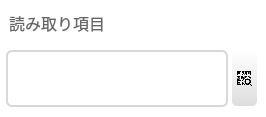
QR Code Reader Place a heading and a button to read the QR code using the device's camera function
|
Resizing Controls
When a control is selected, handles appear around it. Drag and drop the handles to resize them to fit the guide. (Even if the guide is hidden by other controls, it can still be aligned with the guide).

Moving Controls
Drag and drop the control to move it in line with the guide. It can also be moved by selecting a control and pressing the arrow keys (↑↓←→) on the keyboard.

Editing Controls
Edit] in the TOP menu allows you to edit the selected control. For more information on [Edit], see "Basic Operation: Unifinity Studio Edition" in5. description of TOP menuSee "The following is a brief description of the newest version of the product.
The same operations can also be performed in the menu displayed by right-clicking on a control as in [Edit] in the TOP menu.


